In the first post of this series, we prepared an environment and deployed Snipe-IT, our asset management system (AMS). The second part covered establishing our administrative settings. In this post, I’ll show you how to use it as you would on the job.
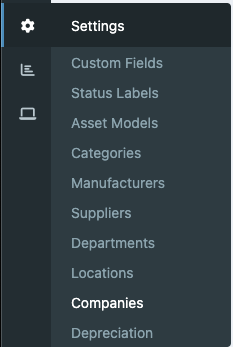
Let’s start by creating our company. Return to the main dashboard and choose Setting > Companies on the left.
I’ve created our demo company BigCorp and used our previous logo and an example email address.

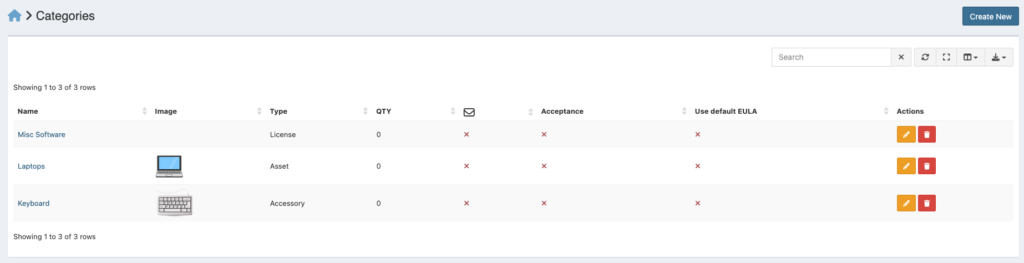
Managing assets can be an overwhelming task when dealing with hundreds or even thousands of employees not to mention all of the departments within your organization and the assets assigned to them. Whatever you can do to compartmentalize tasks and break them down into easier to manage sections will make your life much easier. Snipe-IT has many ways to do this, we have already explored Groups. Another way to do this is through Categories. Let’s create some.
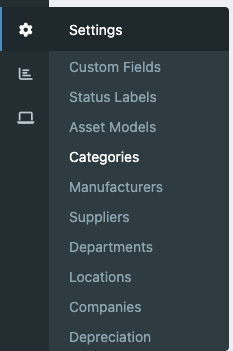
Start from the main dashboard and navigate to Settings > Categories.
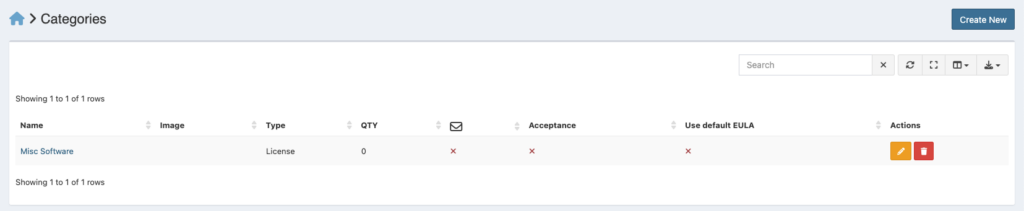
An example category currently exists. Choose Create New from the upper right dialog.
Our first asset category will be laptops.
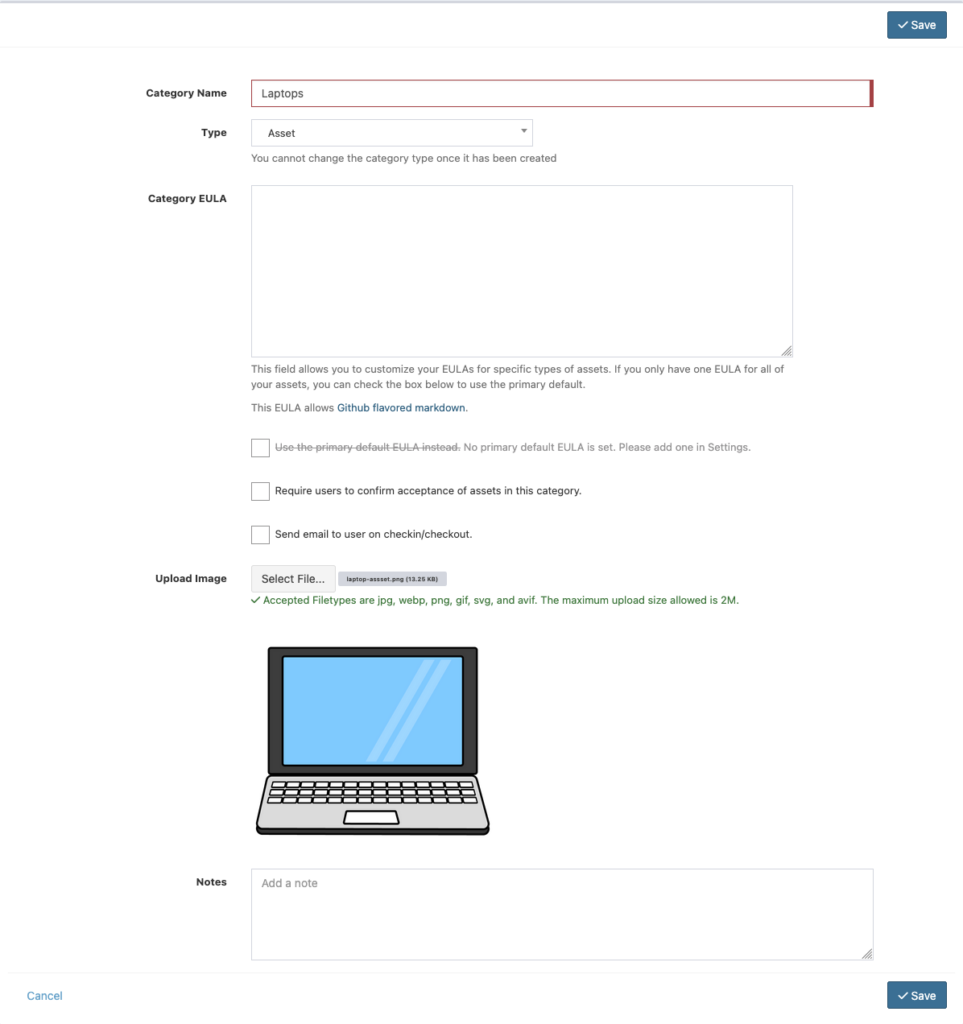
Name your category, choose type (Asset), and depending on your organization’s practices, introduce a EULA or any other options you wish to address. I’ve added a generic category image as well. Choose Save once finished. I’ll add one more.
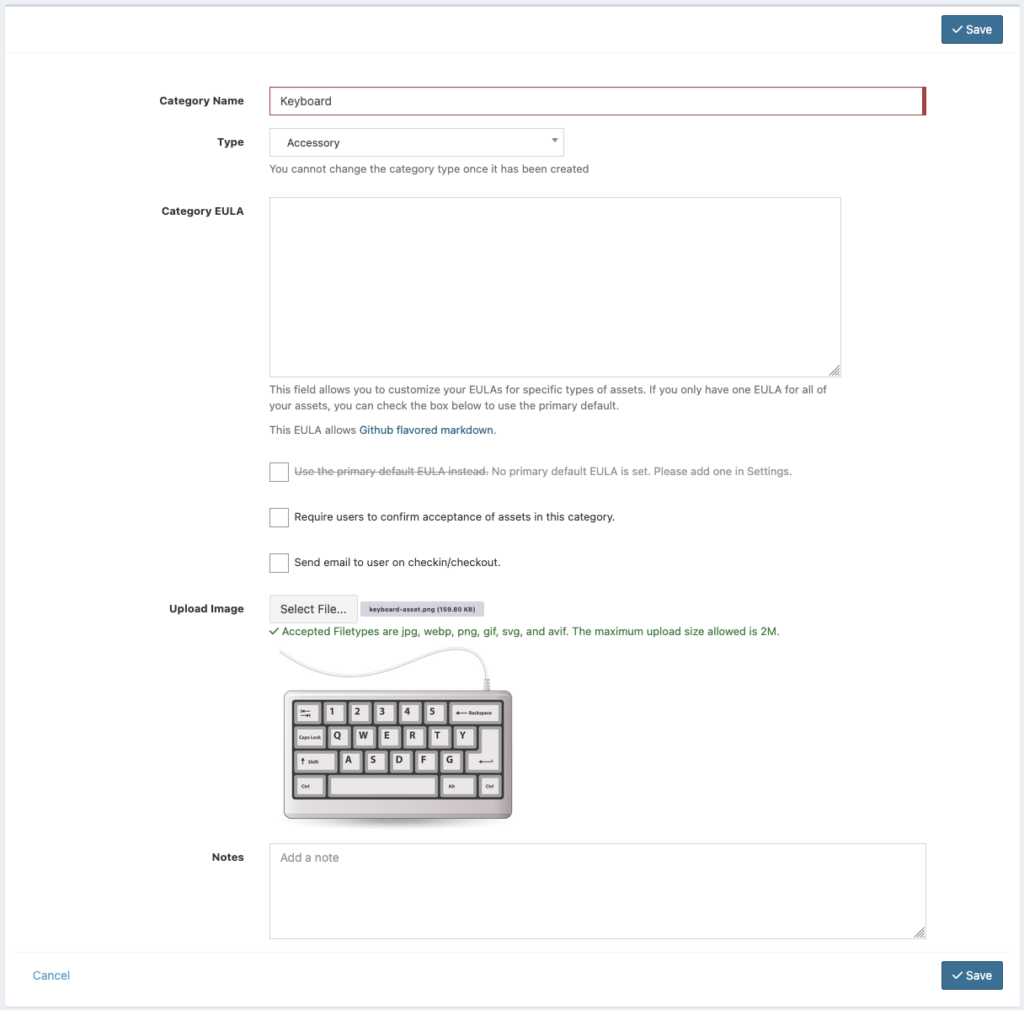
I’ve chosen a keyboard category and the accessory type. Other types include consumable (printing ink, paper), component (PC parts, cables), and license (software).
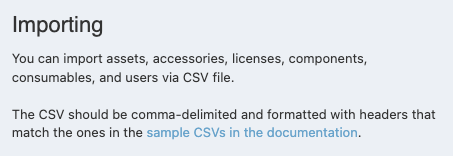
Now that we’ve created a few categories, we can create and assign assets to those categories. There are a few ways to introduce your actual assets. If you already have a spreadsheet listing your assets, you create a CSV file from the spreadsheet and import them directly into Snipe-IT either via the web interface or the CLI.
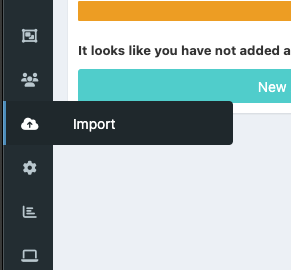
If using the web interface to import a predefined list of assets, from your dashboard choose Import from the options on the left.
Before importing your CSV, note the format that Snipe-IT requests.
Another way to import assets is via command line. Below is the following command:
$ php artisan snipeit:import path/to/your/file.csv
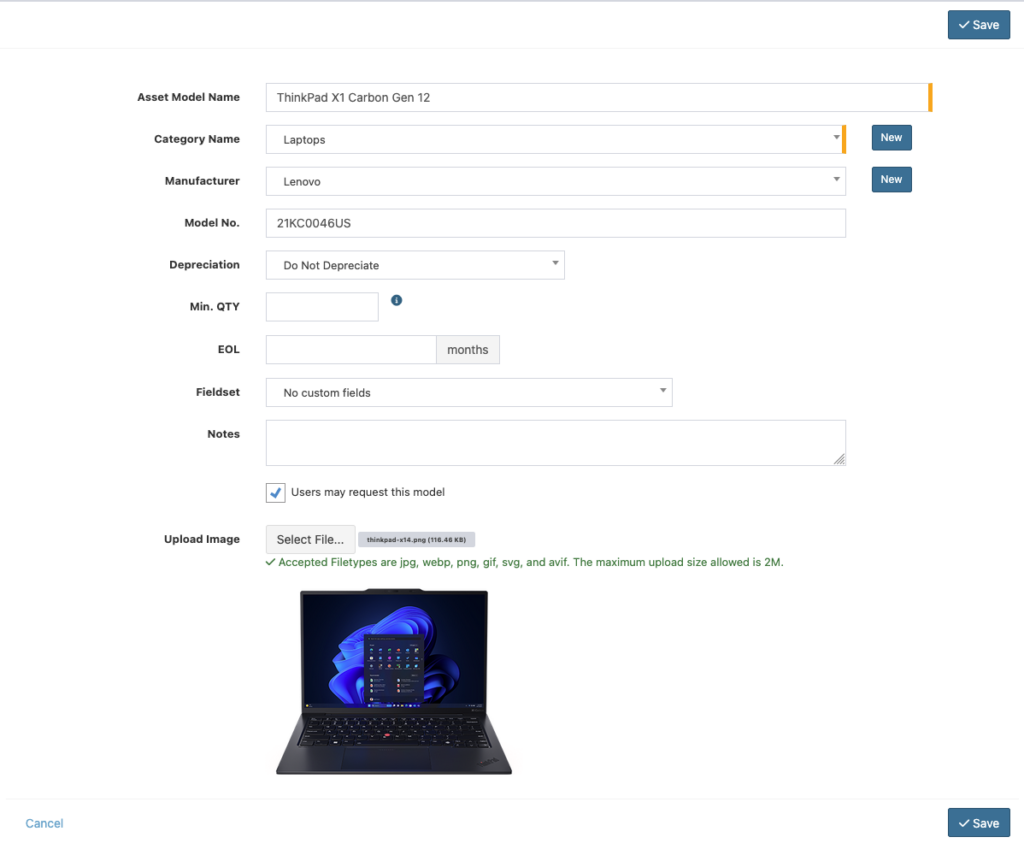
Before creating a new asset, it’s important to create an asset model. Most organizations will have multiple assets of the same model. Asset models are another way that your AMS can make your life easier.
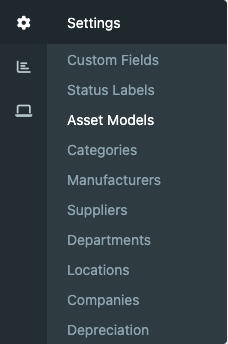
Returning to your dashboard choose Settings > Asset Models.
Here I’ve create an asset model belonging to the category laptop, included the model number, manufacturer, an image of the asset itself, and whether it is ready for deployment or not. Choose save after filling out the relevant info for your model.
After choosing save, click on your new asset model and choose Files.
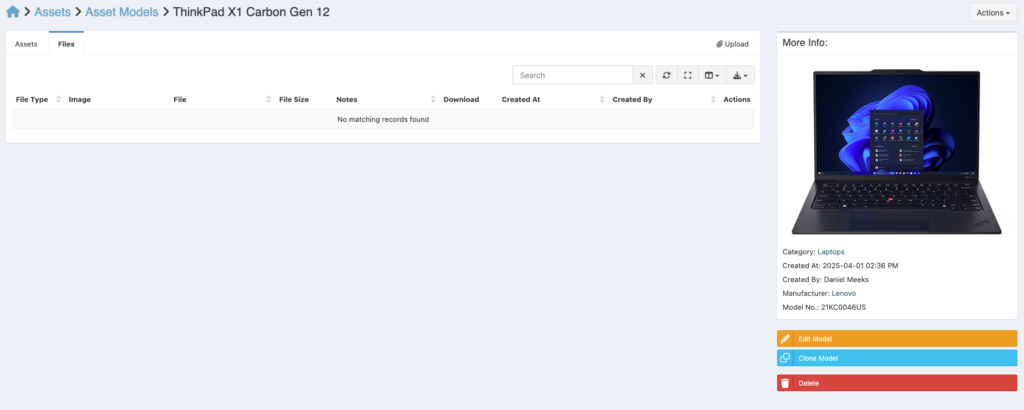
This is a great place to store things like repair manuals, spec sheets, etc. that may be relevant to maintenance of the asset.
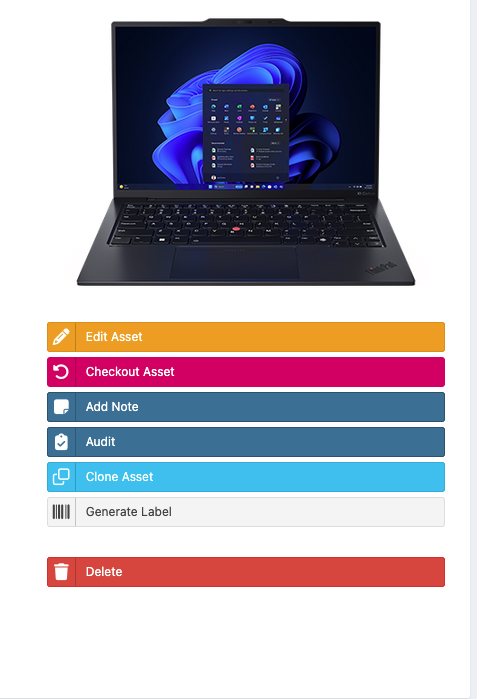
Now we can return to our dashboard and finally create a new asset by choosing the New Asset button. You will be presented will the following new asset screen.

For company I’ve chosen our fictional company BigCorp, our asset tag is auto generated, I’ve added the serial number of the asset, the predefined model, and marked it as “Ready to Deploy” which means it can be checked out to a user (it is in stock and setup to go). It’s located in the IT Closet and is requestable. If you need to add a specific image to your individual asset you may do so, otherwise the image will be inherited from the asset model. Within the optional information, items like warranty, auditing date, purchase date and cost can be supplied.
After choosing save, you are presented with your new asset as being ready to deploy. Let’s generate a label for the asset so that it can be easily identified.
From your dashboard click on assets and choose the asset you wish to generate a label for by clicking on the asset tag. Ordinarily this would be a group of assets at one time unless you are a smaller organization or are generating a label for a larger/more expensive asset. From the options on the right choose Generate Label.
Our label includes the company name and logo, a QR code and barcode, and serial number as well as model number.
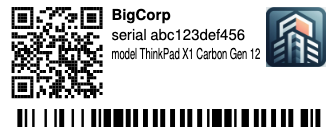
Best practices for applying asset labels are in visible areas near the manufacturer’s information and/or serial number. For our laptop we would apply it on the bottom being careful not to obstruct any vents, screws, or relevant information needed for service and warranty.
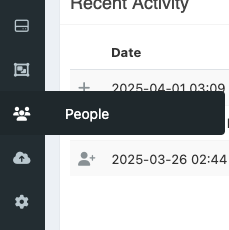
It’s time to checkout our asset to a user. As described in the second part of this series, if your company uses Active Directory or another LDAP service to manage users, you should use Snipe-IT’s LDAP integration to manage your users. For our purposes, we will manually create a user. Go to your dashboard and choose People from the options on the left.
Create a new user from the following screen.
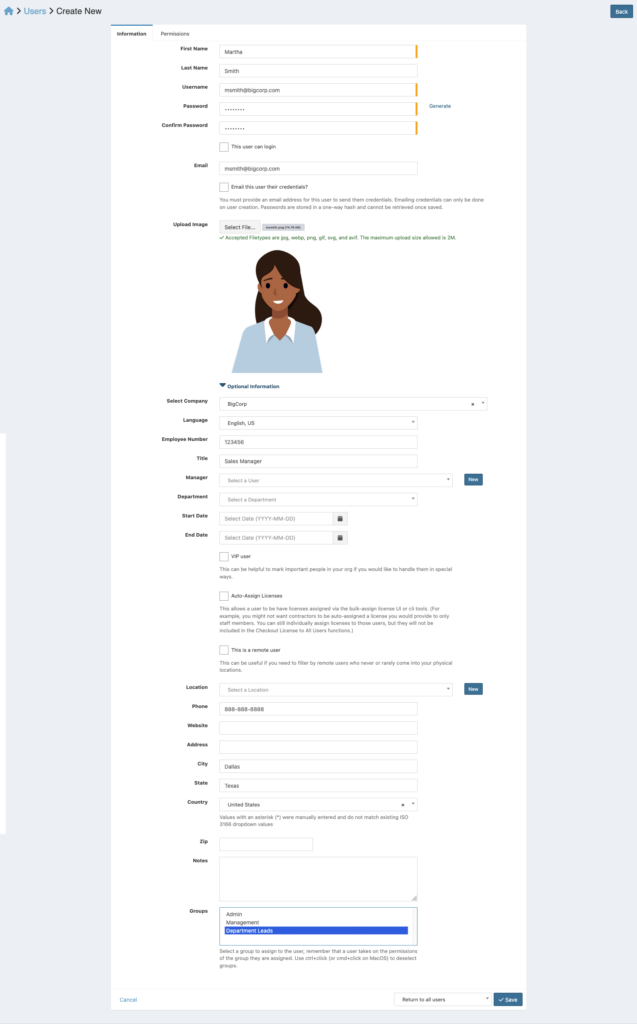
All of the options you would expect are here but the option I wanted to point out is at the bottom, Groups integration. If you click on the Permissions tab at the top, you will see the exact same permissions we chose when creating our groups. Having to do this for each individual user is a waste of time. Instead we can simply choose to assign the user to the group we configured previously. Save your configuration and return to the assets screen from the main dashboard. Choose Checkout on the right side.
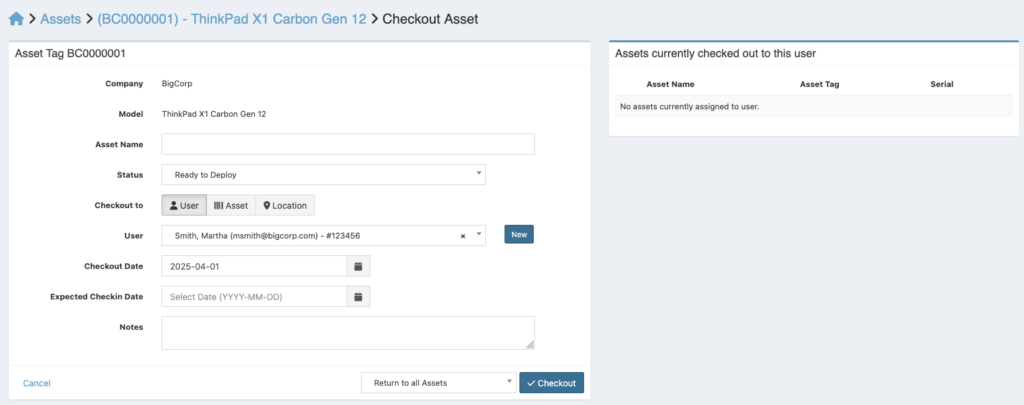
When checking out an asset, you have the option to checkout to a user, a location, or even another asset. Locations, like users, are preconfigured by the AMS administrator. An example of checking out an asset to another asset is usually reserved for consumables, such as toner or paper to a printer asset, or components, like RAM or storage for a workstation asset. After checking out the asset return to the main dashboard.
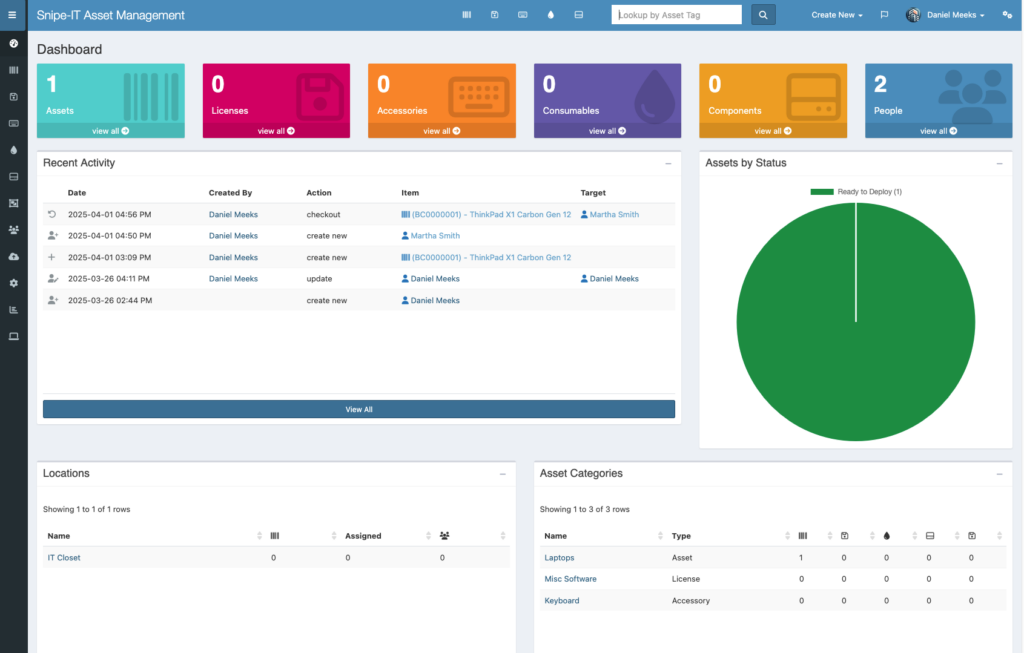
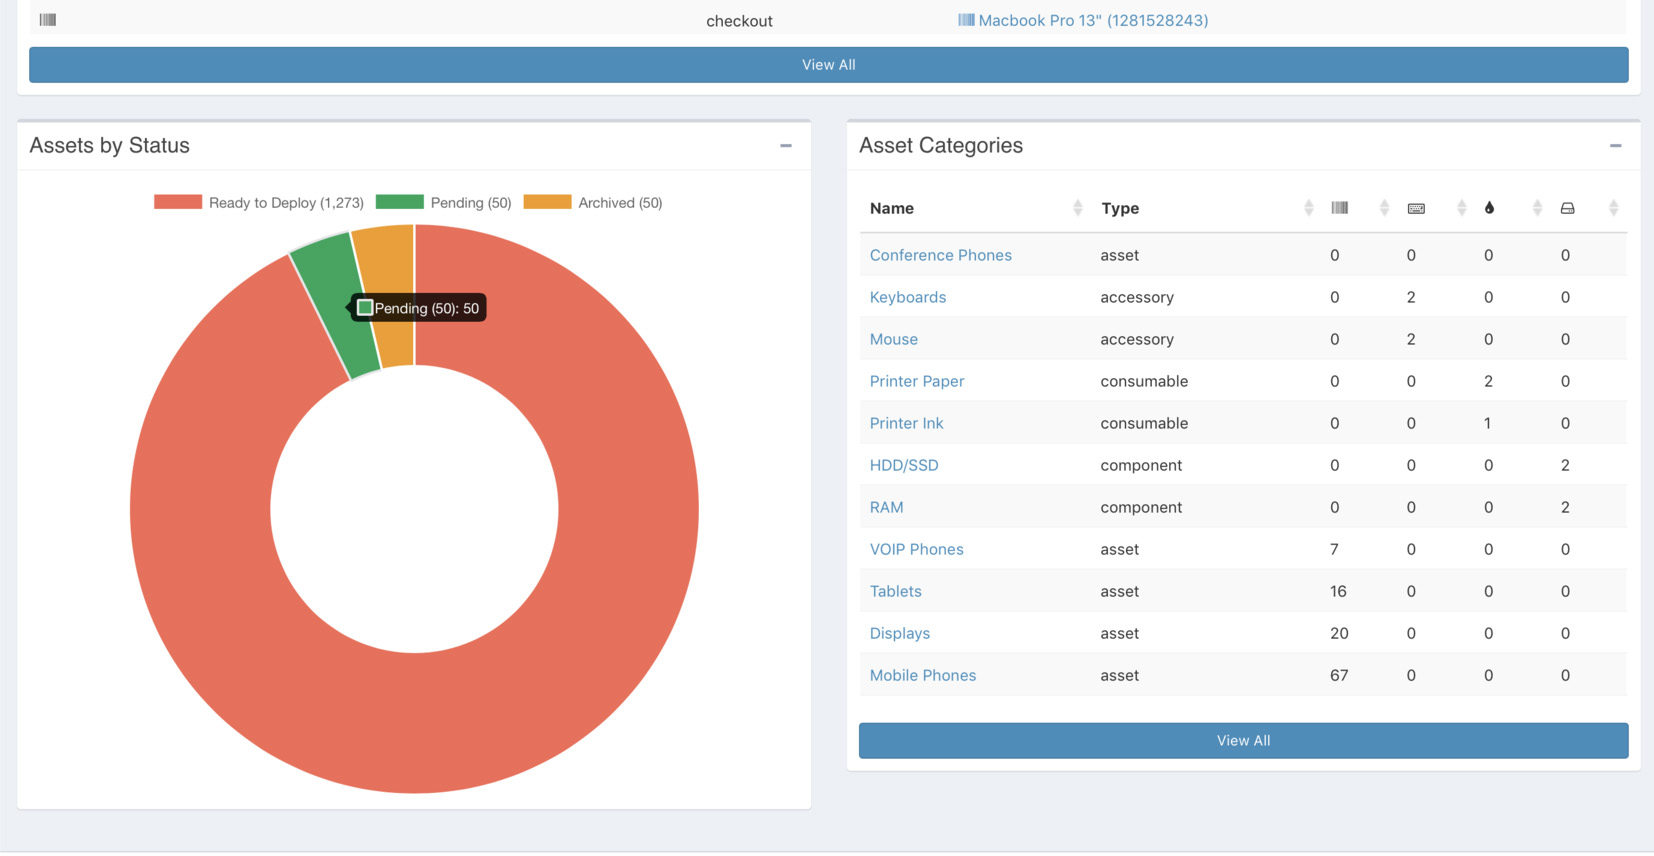
Looking at the dashboard, we have accomplished a lot so far throughout this series. We’ve built out the asset management system itself, configured the administration settings, created our company, groups, asset models, assets, and users. We’ve also printed out an asset label and successfully checked out an asset to a user.
As the AMS administrator, there are several other functions of Snipe-IT you should be aware of. Our AMS can keep track of maintenance of assets such as repairs and upgrades, cost of maintenance and purchasing of assets, warranty information, etc.
Auditing is also an important function of an AMS, reducing costs by optimizing asset utilization and ensuring proper licensing so as to avoid unnecessary penalties, guaranteeing an accurate inventory, as well as ensuring compliance with security standards and company policies. Audits can be triggered via predefined criteria such as dates that will alert the administrator that it is time for an audit.
Report generation is another important function of an AMS. Activity reports such as use and location of assets over time, maintenance reports for asset dependability and cost of upkeep, depreciation reports that give an estimate of an asset’s value throughout its lifetime, these are all essential metrics that can and should be handled by an asset management system.
It is important that you learn the ins and outs of whichever AMS you are tasked with administrating. An asset management system is a powerful tool that can do much more than simply keep tabs on employee laptops. It’s an essential piece of software for any company, large or small, to keep them on track technologically as well as financially.
In a future post, I will show you how we can use the AMS API to connect our asset management system to our ticketing system, syncing the two so that documentation regarding assets that are involved in ticketing requests are available and viewable. This is important when isolating issues with certain assets that have a history of documentation, are reaching end of life, or can be better utilized within an alternate capacity.
Leave a Reply